

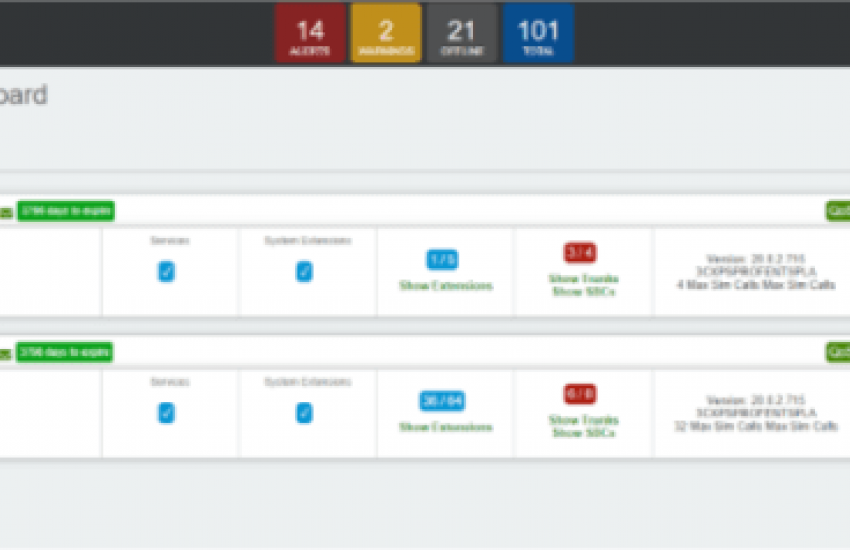
Step 1. Click on Dashboards and select VOIP Dashboards. Next Click on + icon on top right.
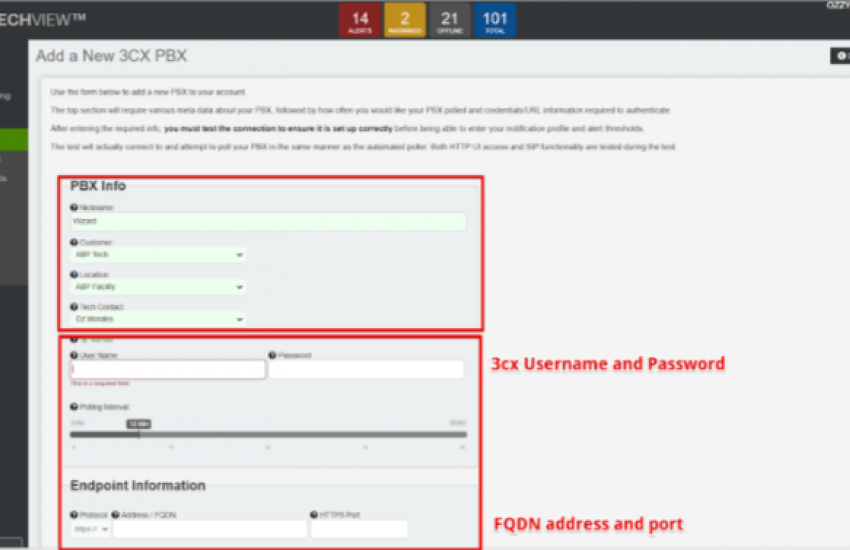
Step 2. Create a nickname and assign the 3CX to the customer and location with tech contact. Fill out PBX info with username and password and FQDN and port.
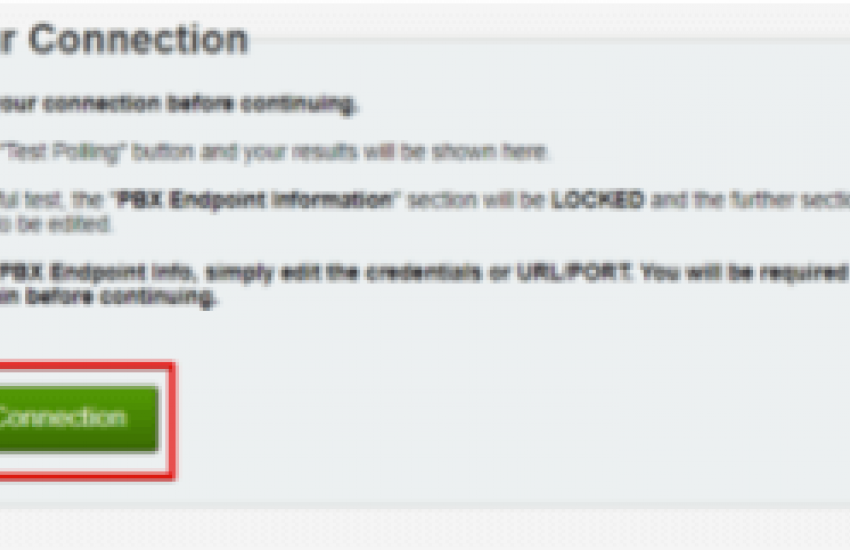
Step 3. Test PBX connection.
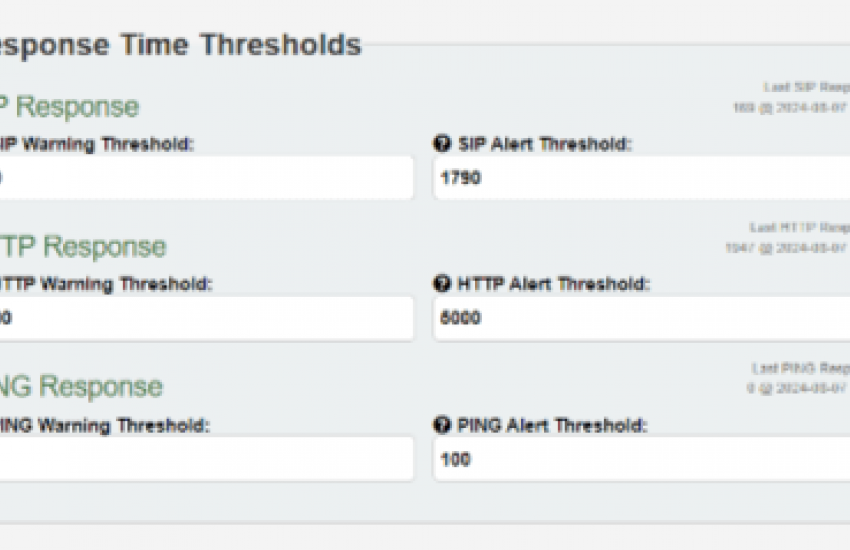
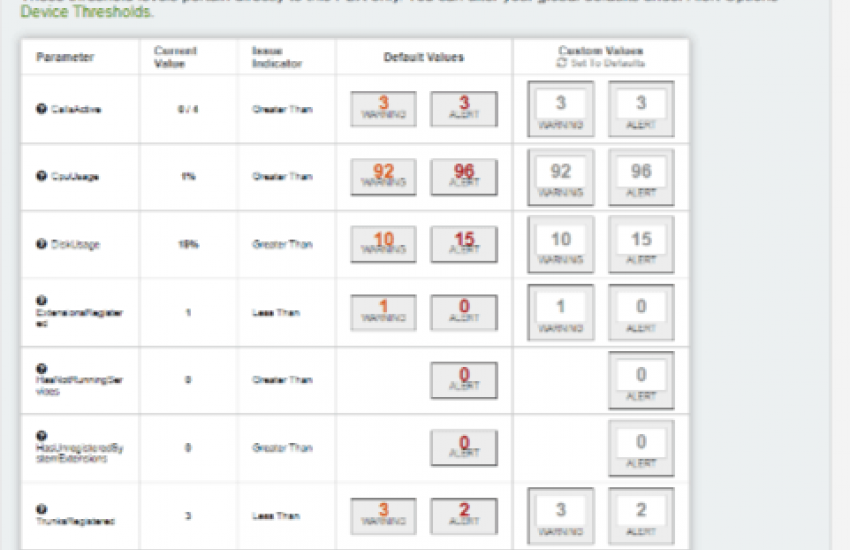
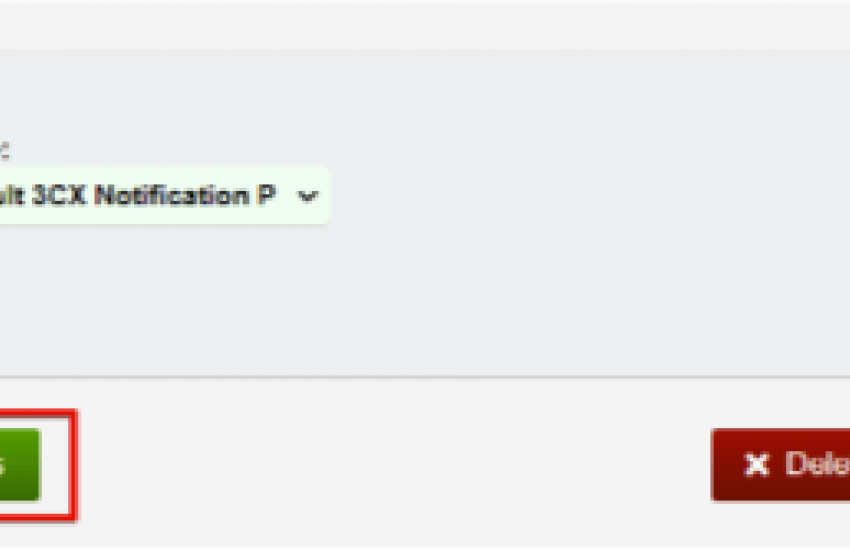
Step 4. Please fill in desired thresholds & values on when you would like to be warned and alerted and save changes.
Manufacturer
3CX
Category
Category 1